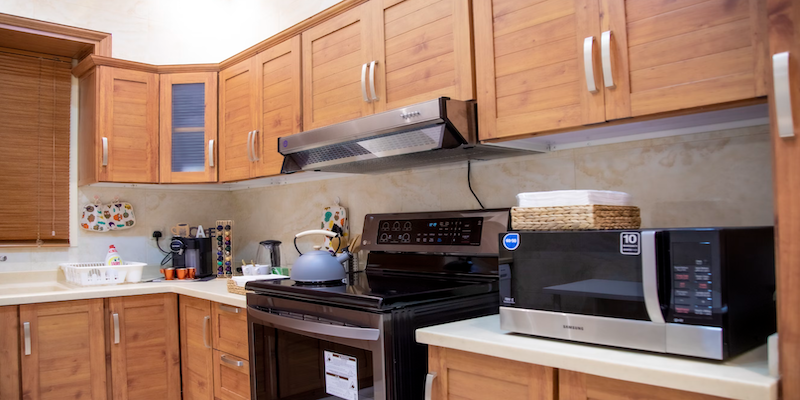
Kitchen cabinets can become a magnet for grease, grime, and crumbs over time. A thorough deep cleaning not only helps maintain a clean and hygienic kitchen but also extends the life of your cabinets.
Here’s a step-by-step guide to help you deep clean your kitchen cabinets efficiently.

Gather Your Supplies
Before you start, make sure you have the following supplies on hand:
- Dish soap or mild detergent
- White vinegar
- Baking soda
- Warm water
- Microfiber cloths or soft sponges
- Toothbrush or small scrub brush
- Vacuum with brush attachment
- Bucket
- Soft, dry towels
- Shelf liners (optional)
Step 1: Empty the Cabinets
Start by removing all items from your cabinets. This includes dishes, cookware, food, and any other items stored inside. Place them on your countertops or a table to keep them out of the way during the cleaning process.
Step 2: Dust and Vacuum
Use a microfiber cloth to wipe down the interior surfaces of the cabinets, removing loose dust and crumbs. For hard-to-reach corners and crevices, use a vacuum with a brush attachment. This step ensures that you don’t spread dust around while cleaning with liquids.
Step 3: Prepare Your Cleaning Solution
For general cleaning, mix a few drops of dish soap or mild detergent with warm water in a bucket. For stubborn grease and grime, create a solution of one part white vinegar to one part warm water. If you encounter tough stains, you can make a paste using baking soda and water.
Step 4: Clean the Interior
Dip a microfiber cloth or soft sponge into your cleaning solution and wring it out well. Wipe down the interior surfaces of the cabinets, paying extra attention to areas with built-up grime. Use a toothbrush or small scrub brush to get into corners and detailed areas. For any stubborn stains, apply the baking soda paste, let it sit for a few minutes, then scrub gently.
Step 5: Clean the Exterior
Don’t forget the exterior surfaces of your cabinets! Use the same cleaning solution and method to wipe down doors, handles, and knobs. Be gentle around any decorative finishes to avoid damage.
Step 6: Rinse and Dry
After cleaning, rinse the cabinets with a cloth dampened with plain water to remove any soap or vinegar residue. Then, dry the surfaces thoroughly with a soft, dry towel to prevent water damage and streaks.
Step 7: Address Stubborn Spots
For any remaining tough spots, use a little extra baking soda paste or a commercial degreaser. Apply the cleaner, let it sit for a few minutes, then scrub gently and rinse.
Step 8: Organize and Replace Items
Once your cabinets are clean and dry, it’s time to put everything back. Take this opportunity to declutter and organize your items. Consider using shelf liners to keep the interiors cleaner for longer and to protect the surfaces from scratches and spills.
Step 9: Maintain Regular Cleaning
To keep your kitchen cabinets looking their best, establish a regular cleaning routine. Wipe down exterior surfaces weekly and clean the interiors every few months. Regular maintenance will make deep cleaning easier and keep your kitchen fresh and inviting.
Tips and Tricks
- Natural Cleaners: If you prefer natural cleaners, a mixture of baking soda and coconut oil can be effective for cutting through grease.
- Avoid Harsh Chemicals: Steer clear of abrasive cleaners or scrubbing pads that can damage the finish of your cabinets.
- Use Cabinet Liners: Cabinet liners can help protect the interiors from spills and stains, making future cleanings quicker and easier.
- Ventilation: Ensure your kitchen is well-ventilated to prevent moisture buildup, which can lead to mold and mildew in your cabinets.
With these steps and tips, you’ll have sparkling clean kitchen cabinets in no time! Regular deep cleaning not only improves the look and feel of your kitchen but also contributes to a healthier cooking environment. Happy cleaning!
P.S. No time or desire to clean? Hire Pixie Dusting, we’ll leave your home sparkling clean!
